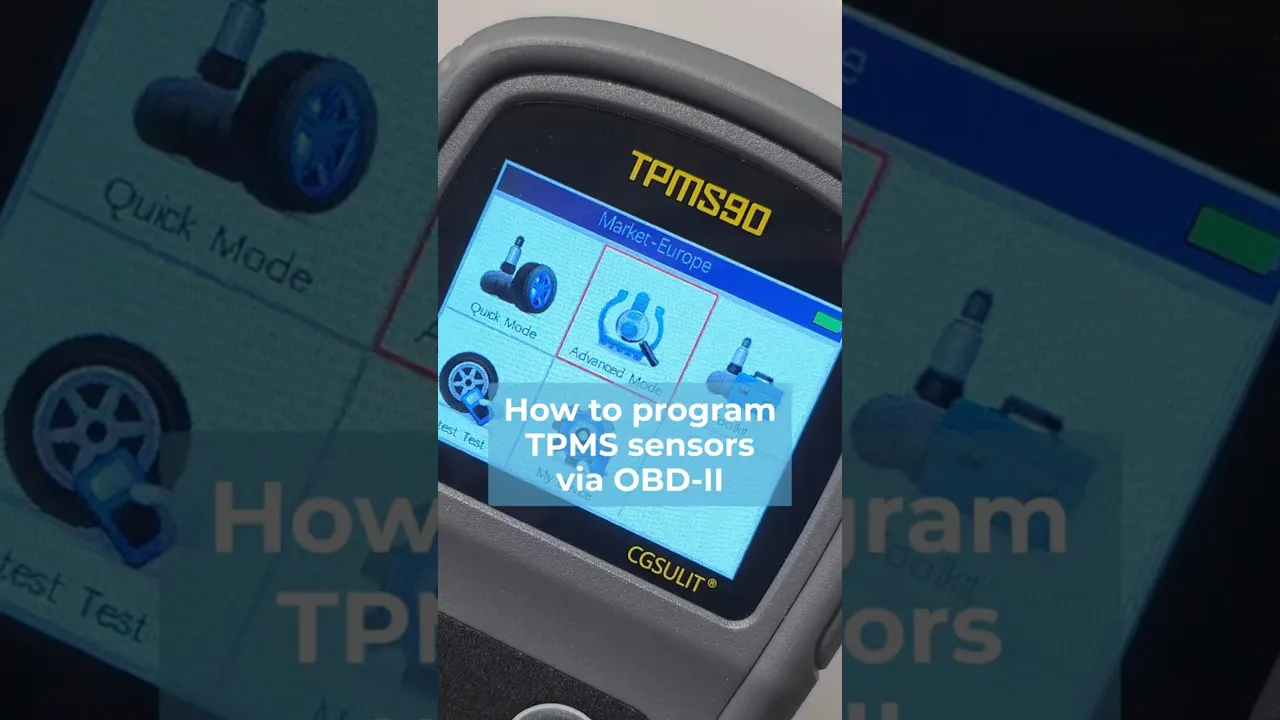
This guide describes how to read the IDs of TPMS sensors using OBD-II and then program them into new (blank) sensors. You’ll also find a video tutorial at the bottom of the page.
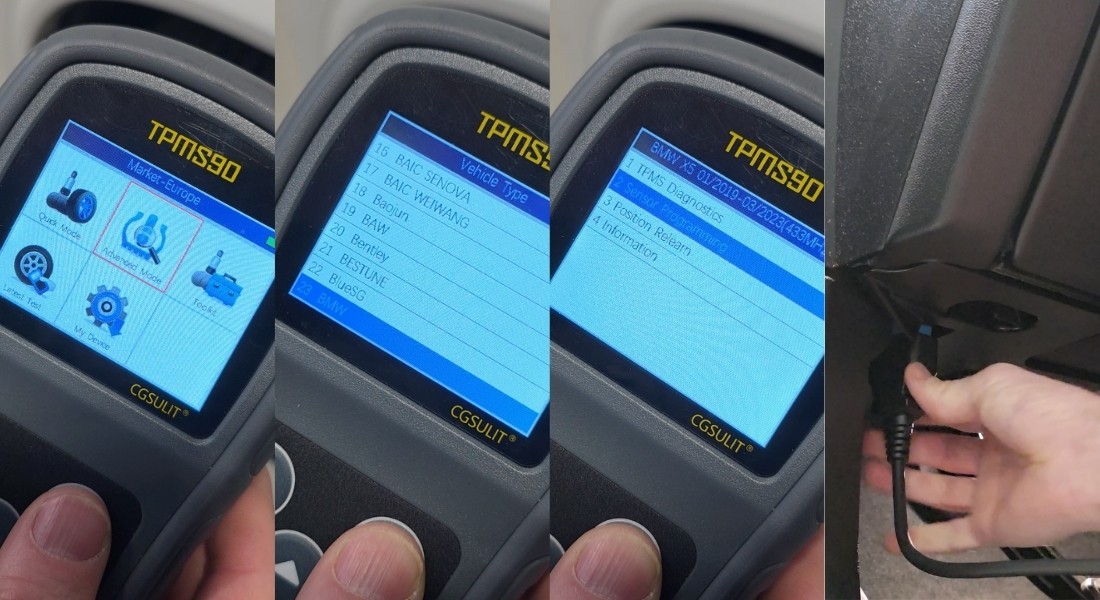
• On the TPMS90 device, select the Advanced Mode icon in the main menu.
• Select the vehicle make, type, and model.
• Select the Sensor Programming function.
Then:
• Connect the device to the vehicle using an OBD-II cable.
• Turn on the ignition (it is not necessary to start the engine).
• Note: The OBD-II port is usually located on the left side under the steering wheel.
2. Reading sensor IDs
• After connecting, select the Copy by OBD option.
• The device will ask if you want to continue—confirm by pressing the Y button.
The device will then automatically read all TPMS sensor IDs stored in the vehicle.
• A list of sensor IDs will appear on the screen.
• Press the Y button to confirm and copy the IDs.
Now copy the retrieved IDs to the prepared blank TPMS sensors.
Recommended programming order:
• Select the sensor you want to program.
• Start with the left front wheel.
• Continue clockwise.
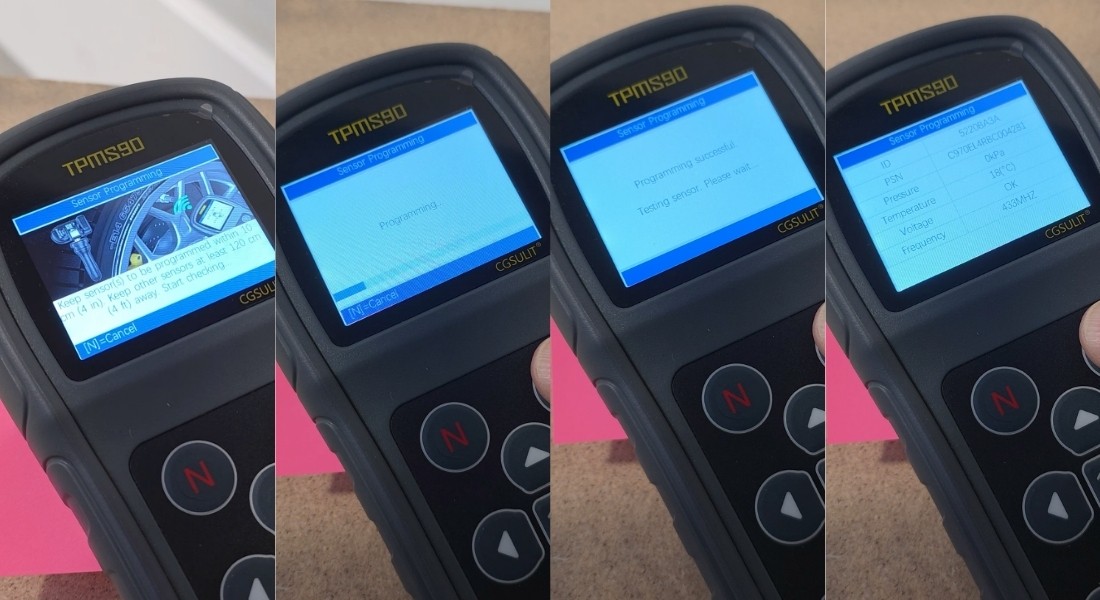
• The device will prompt you to place it against the sensor – place it against the valve.
• The screen will display the programming progress.
• Upon completion, the device will announce that the sensor has been successfully programmed and display its information.
• Confirm and proceed to the next sensor.
IMPORTANT NOTICE: During programming, all other sensors must be at a distance of at least 120 cm from the sensor currently being programmed. Otherwise, the device may detect the wrong sensor.
Recommendation: Keep the sensor being programmed near the device and place the other sensors on a table some distance away, for example. Alternatively, you can program the sensors while they are mounted directly on the vehicle.